How to Turn a Long Video into Short Clips with a Video Clipping Tool
Use a video clipping tool to turn a long podcast, interview or stream into vertical clips with captions, then check and post them in one batch.

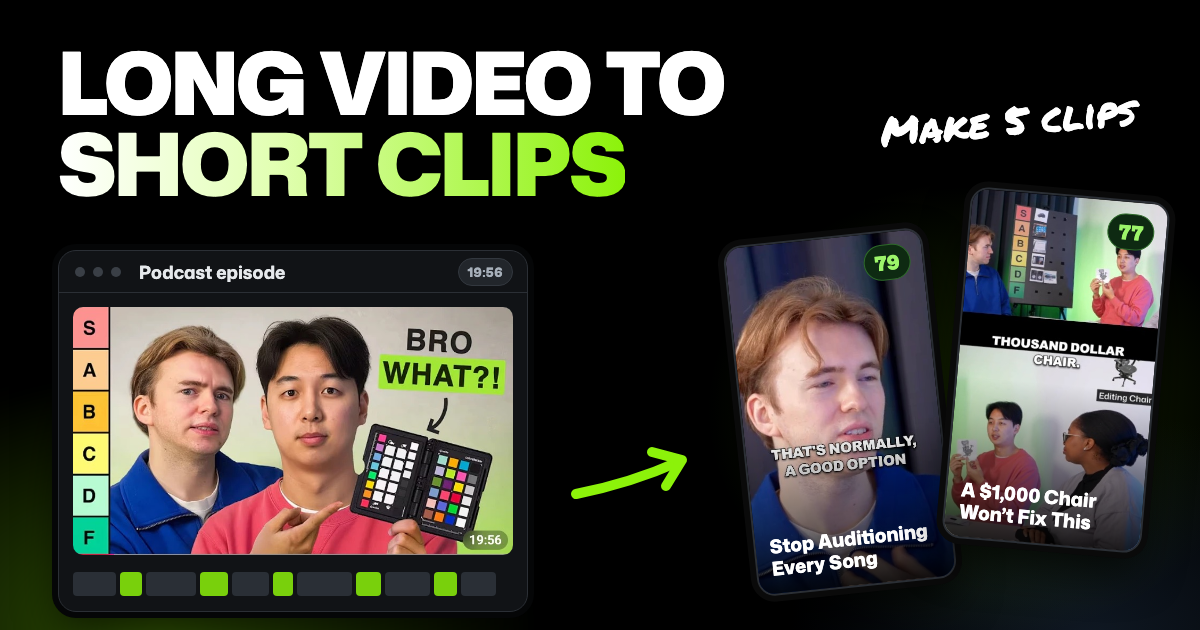
TLDR: An AI video clipping tool finds the strongest moments in a long video and cuts each one into a vertical short with captions. In Selects, the Clipper app makes up to 30 clips from one podcast, interview or stream, each on its own editable timeline. Watch every clip before you post, because no AI score can tell you how a post will perform.
You recorded something long: a 90-minute podcast episode, a webinar or a three-hour stream. Now you want a batch of vertical clips for TikTok, YouTube Shorts and Instagram Reels, without watching the whole thing again. This guide walks through it with Clipper, the video clipping tool built into Selects, an AI video editor. You need the recording (or a public link to it) and Selects on your computer.
- Add the long video as a file, a timeline or, in the desktop app, a public YouTube, Vimeo or Twitch link.
- Pick a template for the look: captions, title, framing and logo.
- Leave the number of clips on Auto to get as many good clips as the video holds.
- Fix weak clips on their own timelines, then post up to 10 at a time.
What a video clipping tool does, and what it can't
An AI clipping tool finds the passages in your video that stand on their own. It cuts each one into a short, turns it tall for phones, adds captions and writes a title.
That's the job Clipper does in Selects, the AI video editor. For an overview of what it makes, see the Selects AI clip generator page.
No clipping tool knows your audience the way you do. Clipper picks its moments from what people say, so it needs speech: a silent gameplay recording has nothing for it to clip.
Where Selects' visual analysis comes in is the framing. It finds the faces and who is speaking, so each clip stays on the right person.
Step 1. Add your long video
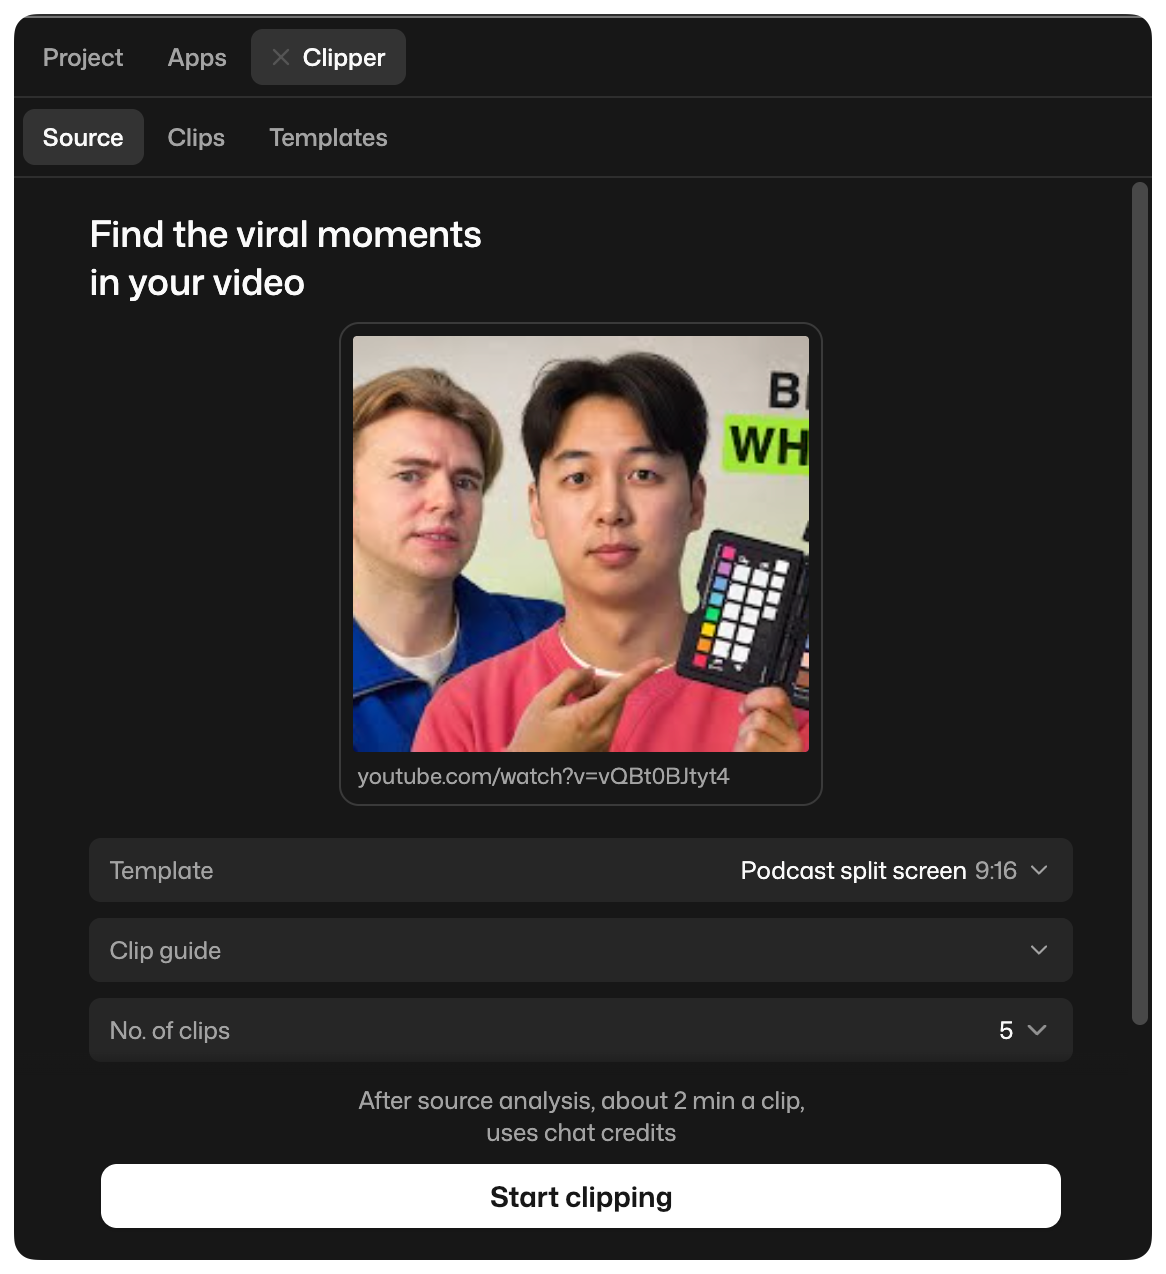
Open a project in Selects, then open Clipper from the Apps tab at the top of the project panel. Clipper has three tabs: Source to make clips, Clips for the results, and Templates for the look.
In Source, click Add video or link and choose what to clip:
- A video file from your computer, or one already in your project.
- A timeline, such as a draft you've already edited, or a synced timeline for a podcast filmed on several cameras. Analyze a synced timeline before you start, so it has a transcript.
- A link from YouTube, Vimeo, Twitch or another site. The video has to be public. Private, members-only and age-restricted videos won't download, so add those as a file.
Links work in the desktop app only. In the browser version, the button reads Add video and takes a file or a timeline.
Use your original recording if you have it. A copy downloaded from YouTube is more compressed, and that shows once the picture is enlarged for a tall frame.
Step 2. Choose how your clips look
A template decides how every clip looks: the frame size, the captions, the title, a logo and any effects. Clipper comes with ready-made styles, such as Talking head captions, Dynamic keyword, Bold kinetic captions, Podcast split screen, Fit and blur and Comments.
Pick by what you filmed:
- One person talking to camera: a talking head style. Clipper frames each clip around the face.
- Two people at a table: Podcast split screen. It stacks two panels, one above the other, each cropped around one person. It works from two cameras, one camera that films both people, or a finished video with the camera switches already cut in.
- Something on the sides matters, like a slide in a webinar: Fit and blur. It shows the wide picture whole, over a blurred copy that fills the rest of the tall frame.
You can switch a single clip to another template later.
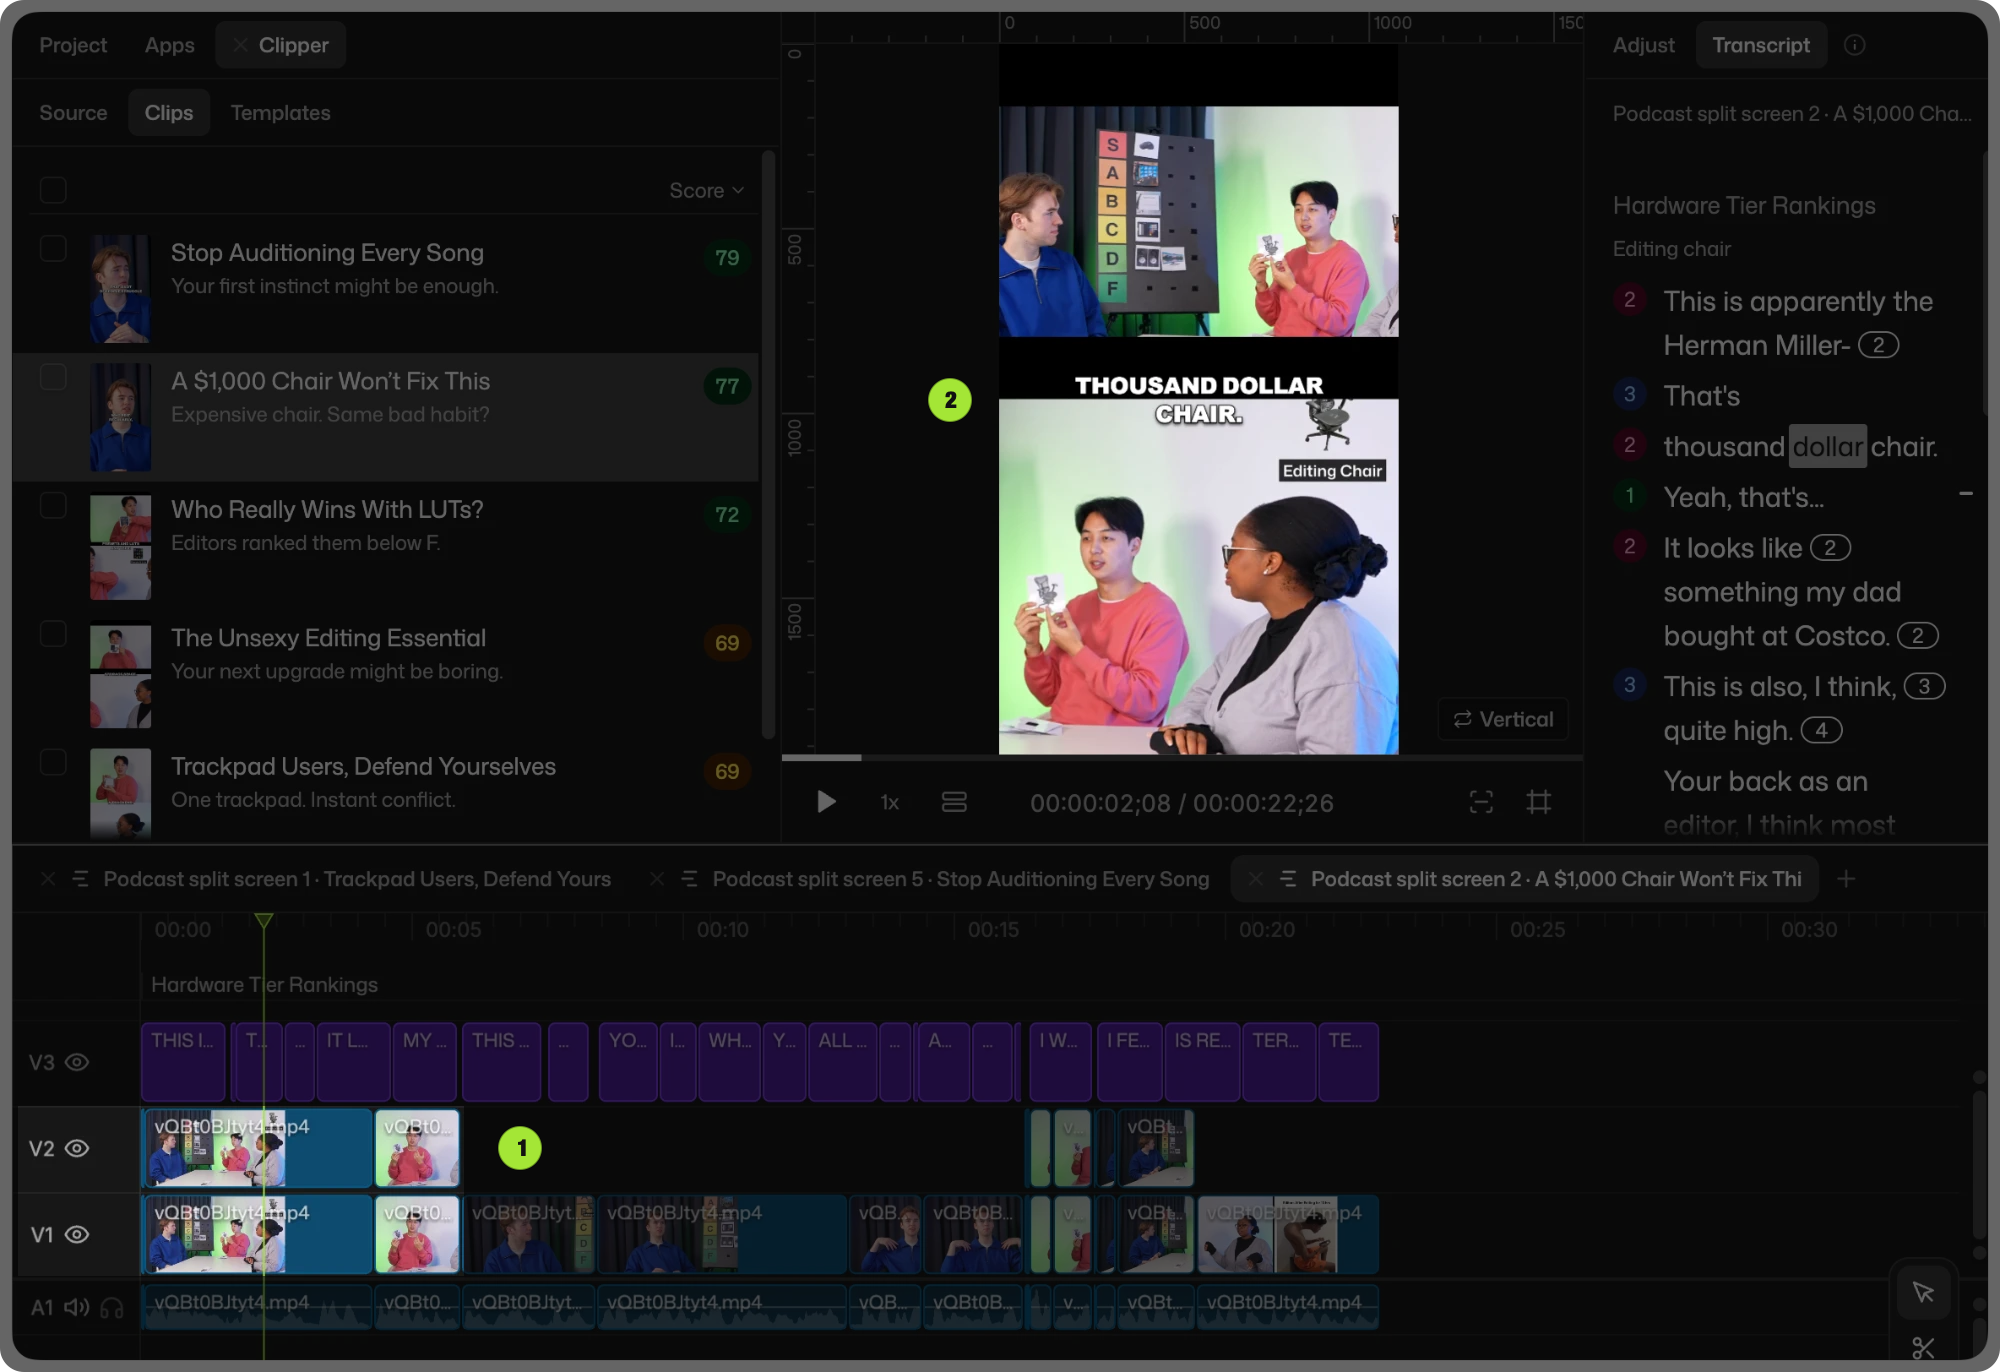
On a single video, the split screen isn't on for the whole clip. Clipper splits wherever the shot shows two or more people, and frames the one person when the shot shows only one. To build it, it puts the picture on two video tracks and crops each copy to a different person.
When I clipped one of our own podcasts from its YouTube link, that's what happened. The video was the finished episode, with several people at the table and the camera switches already cut in.
Where a shot showed more than one person, Clipper copied it, cropped each copy to a different part of the table and stacked them. On close-ups of one person, it stayed on that person.
Step 3. Tell Clipper what to look for and how many clips
Under the template sits the Clip guide. It's written in plain words, and you can rewrite it.
By default it looks for moments of 20 to 60 seconds that open on a hook and end on a payoff. It skips slow openings and anything that needs earlier context to make sense.
Inside the guide, two switches, Cut fillers and Cut silences, are on by default. That way clips play without the "um"s and long pauses. Below them, Titles says how each clip's on-screen title should sound.
Rewrite the guide when your video isn't a conversation. For a webinar, you might write: "Pick one tip explained start to finish, 30 to 60 seconds. Skip housekeeping and the Q&A setup." Clipper saves your changes for the next run, and Reset to default brings back the original.
Then set No. of clips:
- Auto makes as many good clips as the video holds, up to 30. It's told not to pad the list with weak moments or split one idea into thin pieces to raise the count.
- A number from 1 to 30 makes exactly that many, even if a few are weaker. You only get fewer when the video runs out of separate moments, and Clipper says why.
Clipper is built to take each clip from one continuous stretch of the video, in order, with only small cuts for pauses. Unless you ask for it, it won't stitch a line from minute 40 onto an answer from minute 12. That could change what someone meant.
You can also type a request in the Selects chat instead, like "five clips under a minute, each starting on the answer."
Step 4. Start clipping
Click Start clipping. If the video isn't analyzed yet, Clipper does that first.
Selects watches and listens to the whole recording, so it knows when every word is said and who is speaking. That takes about 20 minutes for every hour of video.
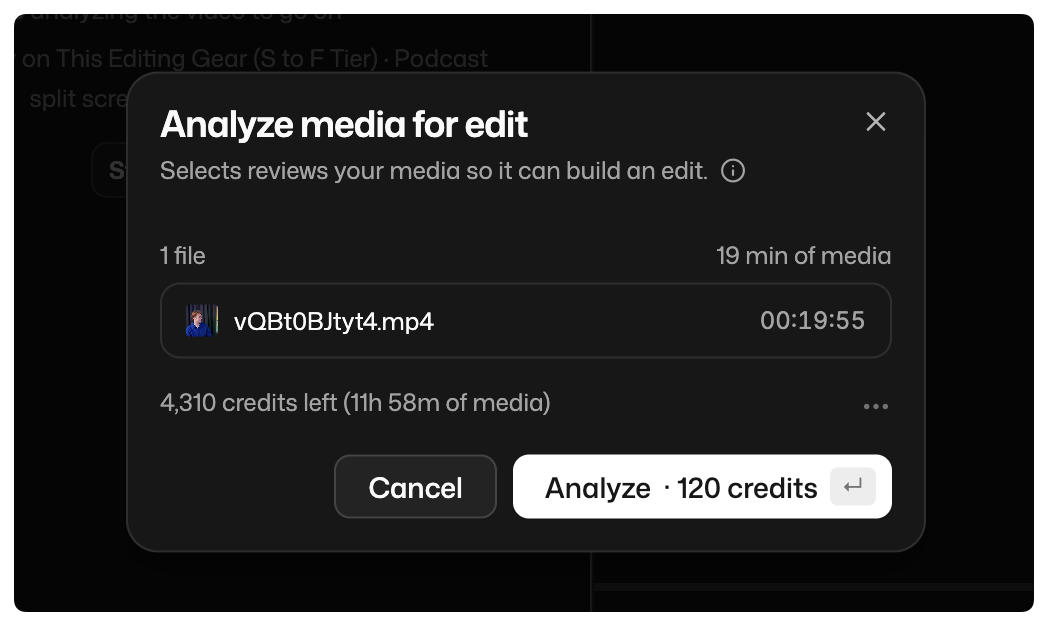
Analysis uses credits, and Selects asks you to approve them before it starts. If you don't approve, Clipper stops and nothing is charged. Analysis costs 360 credits per hour of video, and each camera file counts on its own.
A 20-minute episode of our own podcast came to 120 credits, shown before anything ran.
New accounts get 1,800 free trial credits, enough to analyze about 5 hours of video. After that, you need a paid plan. See plans and how credits work.
Finding the moments and writing the titles then use chat credits. If you've connected a paid ChatGPT or Claude plan in the desktop app, that runs this part instead. Just above the Start clipping button, Clipper shows roughly how many minutes each clip takes.
Clips appear in the Clips tab one by one as they're made. To line up the next episode, choose it in Source and click Add to queue.
Long footage is where general AI video editors struggled in our own test. A professional editor on our team gave the same podcast to five of them, Selects included, to switch cameras.
Every tool except Selects failed on footage over an hour, so the test had to run on a 30-second clip (see the side-by-side results). Clip tools like OpusClip weren't part of that test.
Step 5. Watch every clip before you post
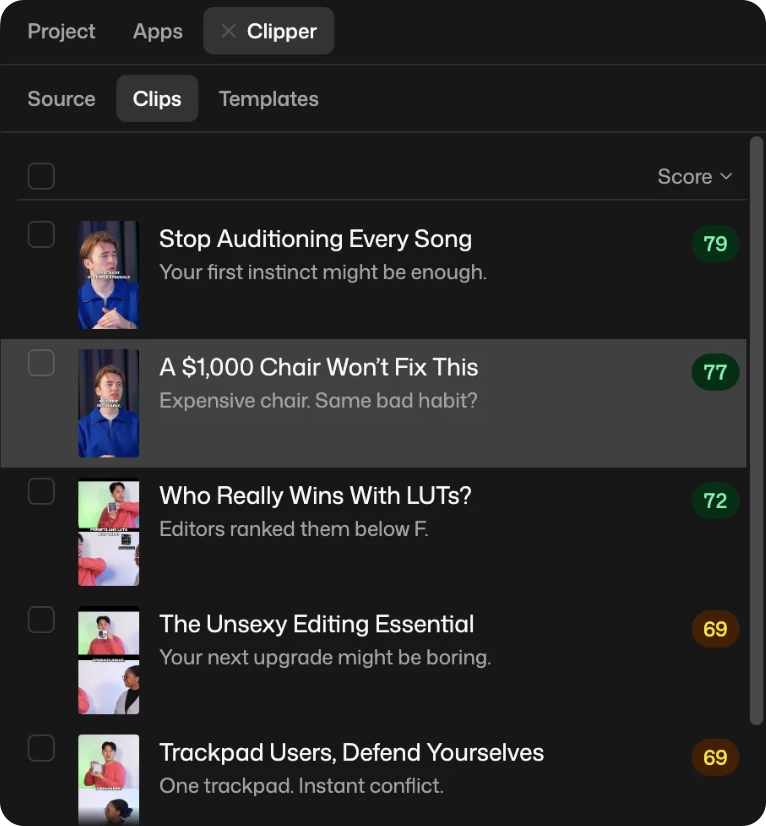
Each clip is listed with its title, where it sits in the original video, and a virality score. Hover over the score to see how it rates on hook, flow, value and trend.
Treat that score as a reading order, not a verdict. The AI predicts it from what is said, so it can't see the video or know how a post will perform.
Click a clip to open it. Each one is its own timeline (the strip where the clip's pieces sit in order), saved in a Clipper folder in your project. You can trim it, re-caption it or, if you clipped a multicam timeline, switch the camera angle by hand.
Play each clip from its very first frame and ask:
- Would this make sense to someone who never saw the full video?
- Does the first line make you want to hear the second?
- Does it end on a finished sentence?
- Do faces stay in the frame the whole time?
- Are names, numbers and small words like "not" right in the captions?
If a clip starts mid-thought, right-click it and choose Show in source (the menu shows the time) to see what came before. Then add the missing setup on its timeline, or delete the clip.
A clip marked "Not framed: left centered" means Clipper couldn't tell where to frame it, for example when it found no faces. Check that crop by hand.
Step 6. Post the batch or export
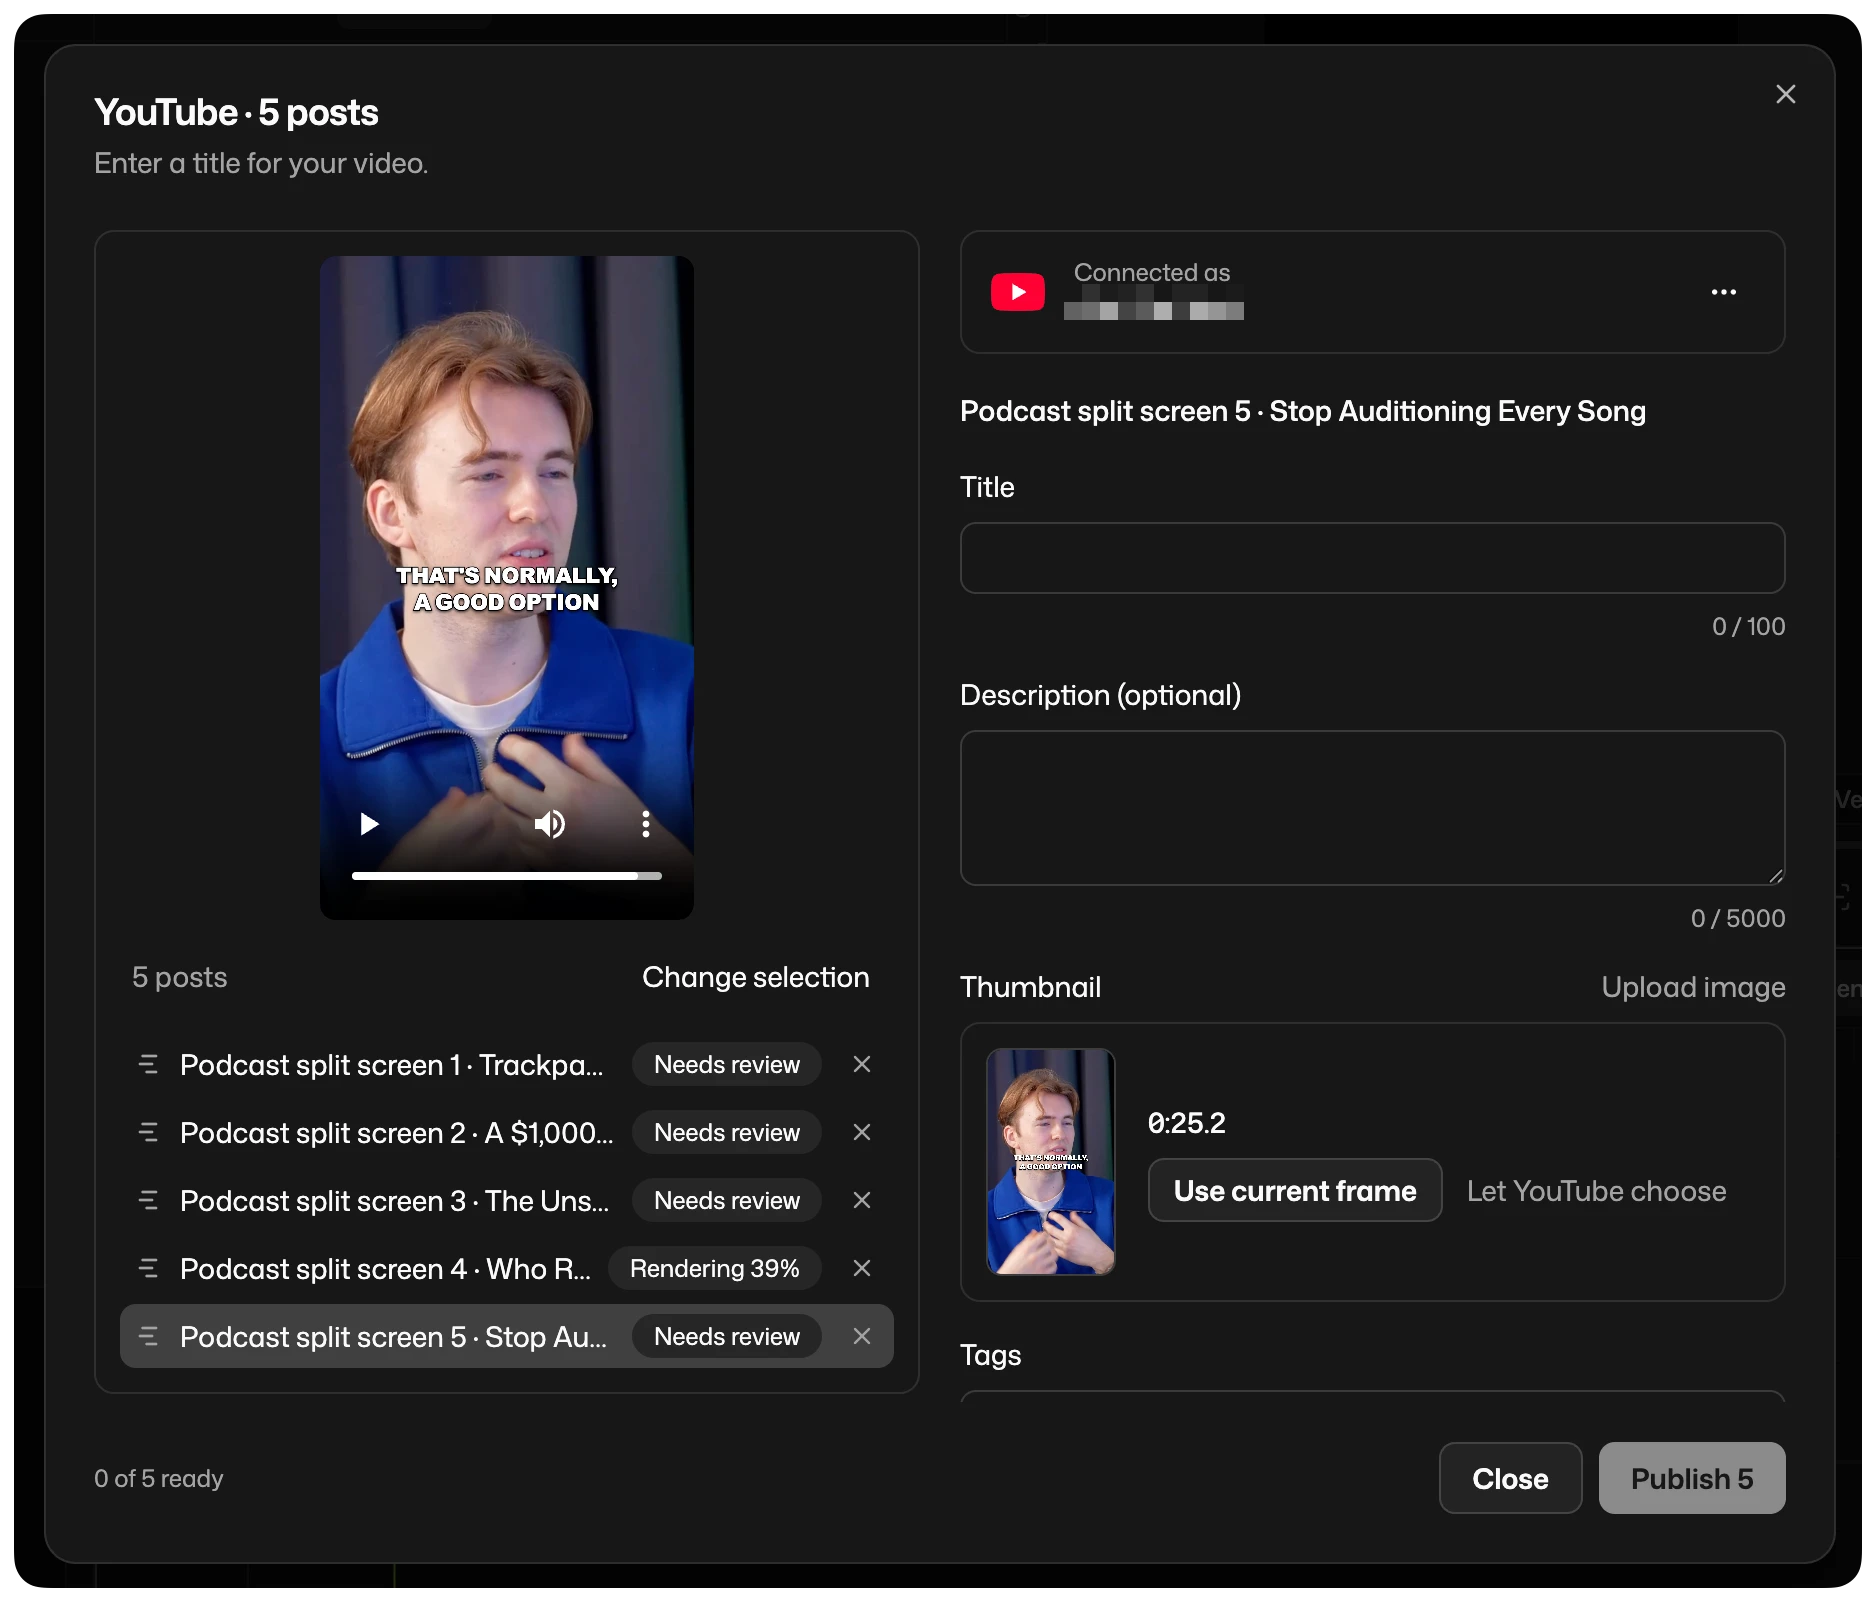
Tick the clips you want, then click Post and choose TikTok, YouTube or Instagram. Several ticked clips open together as one batch of up to 10 clips.
Each post gets its own title or caption and settings. A post shows Needs review until it has what it needs (on YouTube, a title), and nothing goes live until you confirm.
When you post one clip to TikTok, you can schedule it for 5 minutes to 30 days ahead (batches post right away). Keep Selects open until the video uploads. Once it says Scheduled, you can close Selects and the post goes out on its own.
Posts upload one at a time, so keep Selects open until they finish. Instagram needs a professional account.
Each platform caps how many posts an account can publish a day. For Instagram, Selects warns you when a batch is bigger than what's left.
Posting works in the desktop app. In the browser version, or for other places, tick the clips and click Export to save the files. Right-click a clip and choose Copy title and description to paste its text into a post.
Clipper's default clips run 20 to 60 seconds, well inside YouTube's limit. YouTube counts square or vertical videos up to three minutes long as Shorts.
Make every clip look the same
If you post every week, you want each clip to look like your show. That's what your own template is for. In Clipper's Templates tab, click the + tile and choose how to start:
- From a reference: paste a link to a video whose style you like, or attach screenshots of it. Chat builds a template that looks like it.
- From a timeline: turn a clip you've already styled by hand into a template.
- New template to start blank, or Import to add a pack someone exported.
A brand kit adds your channel name, colors, font and logo to every clip a template makes. A template can also switch on effects: Reframe, Zoom, B-roll, Sound effects, Color grade and Show comments.
AI decides where each effect goes, using chat credits or your connected ChatGPT or Claude plan. Effects add a few minutes per clip.
From a reference, Import and Show comments are in the desktop app only.
For every setting and menu, see the Help Center guide on making short clips with Clipper.
Tips and common mistakes
- Starting mid-thought. Listen for words that point back, like "that", "he" or "like I said". If a clip opens on one, start it a sentence earlier so viewers know what it refers to.
- Trusting the score over your eyes. A high score doesn't fix a face half out of frame.
- Skipping the caption check. Captions come from the transcript, so an unusual name or brand can come out wrong. One wrong word can flip the meaning.
- Two speakers, one tall frame. In podcast clips with two people, watch the moments where people talk over each other or lean back. If framing one face at a time cuts someone off, switch the clip to Podcast split screen, which keeps both people on screen.
- Moving lines around by hand. If you rearrange a clip yourself, don't borrow a stronger line from elsewhere in the episode. It can change what your guest meant.
When a simpler tool is enough
If you only want clips and want to make them in the browser or on your phone, OpusClip is simpler. It's built for exactly that job, with a free plan and a Starter plan at $15 a month in the US. Selects is a full AI video editor, which is more than you need for clips alone.
Selects earns its place when you also edit the full episode, film on several cameras or fix clips by hand. If you post one clip a week, any editor works: note the timestamp, cut it and add captions.
FAQs
Can I make short clips from long videos for free?
You can cut clips by hand for free in Selects, because the editor and export cost nothing. Automatic clipping isn't free: Clipper needs analysis and chat, which use credits. New accounts get 1,800 free trial credits, enough to analyze about 5 hours of video.
Can it make separate shorts instead of one stitched video?
Yes. Clipper makes every clip as its own timeline in your project, in a Clipper folder. You can open, edit, post or delete each one without touching the others.
How long should a short clip be?
As long as one complete thought needs. Clipper's default guide aims for 20 to 60 seconds, and you can change that in the Clip guide. YouTube treats square or vertical videos up to three minutes as Shorts.