Video Editing for Beginners: Your First Edit, Step by Step
Video editing for beginners: the five ideas you need, the order of an edit, a first edit step by step, common mistakes and how to pick free software.

TLDR: Video editing for beginners comes down to a few ideas: clips sit in order on a timeline, where you cut and trim them. Work in a fixed order: assemble the story, cut what doesn't serve it, tighten the pacing, fix the sound, add captions, then export. Any free editor with a timeline can handle a first video, so pick one that runs on the computer or phone you already have.
You have footage on your phone or camera: a family trip, a first vlog, or you talking to the camera. You want one finished video you're happy to share, without learning a pro program first. Here's what matters, step by step.
- Write one sentence before you edit. It tells you what to keep and what to cut.
- Be ruthless. If you're unsure whether a clip belongs, it probably doesn't.
- Get the sound right before the look. A clear voice matters more than a pretty shot.
- Finish one short video. A finished 3-minute video teaches you more than an unfinished 20-minute one.
The few ideas a beginner actually needs
Editing software looks busy, but a first video uses five ideas.
| Idea | What it means | When you use it |
|---|---|---|
| Timeline | The strip at the bottom of the editor where your clips sit in order, left to right | All the time: it is your video |
| Clip | One recording, or one piece of a recording, placed on the timeline | When you add footage |
| Cut (or split) | Slicing a clip into two pieces at one moment | To remove a bad part from the middle |
| Trim | Cutting off the start or end of a clip | To start a clip on the action and end it before the boring bit |
| Track | A row on the timeline. Think of these as stacked layers. Higher video rows cover lower ones; sound on every row plays together | To add music, or footage that plays over your main clip |
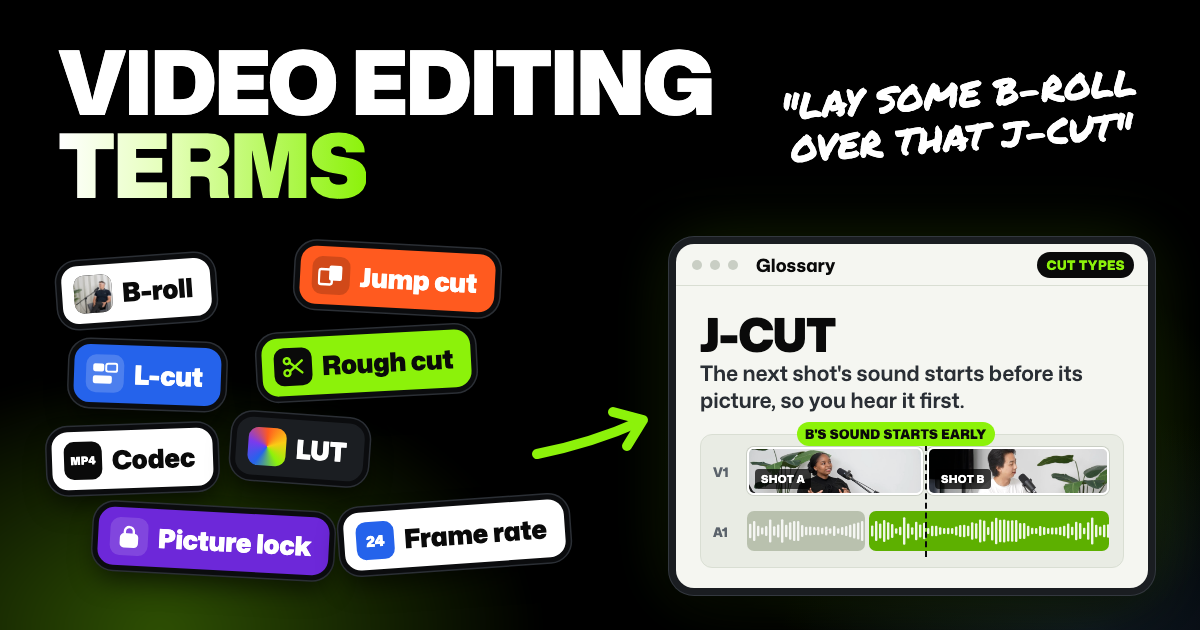
For any other word, like B-roll, see our video editing terms glossary.
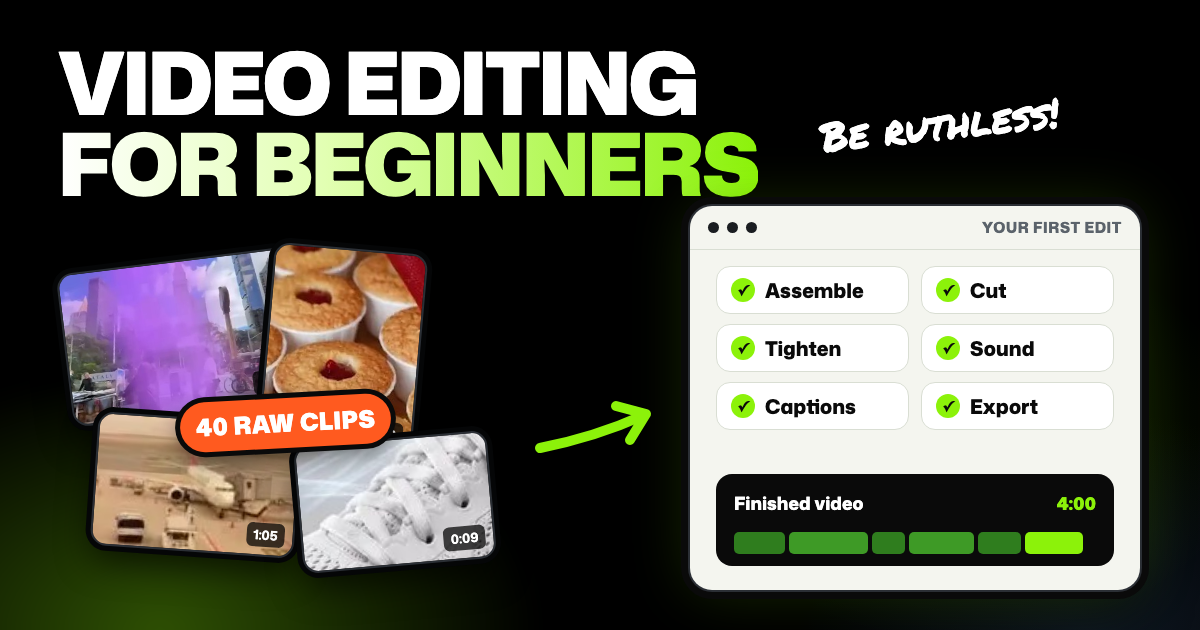
The order of an edit (and why it matters)
Beginners often start with filters and transitions, then cut the scene they polished. Work from big decisions to small ones instead.
| Stage | What you do | Why it comes here |
|---|---|---|
| Assemble | Put the clips you might use on the timeline, in story order | You can't judge a story you can't see |
| Cut | Remove scenes and lines that don't serve your one sentence | Big cuts change the length the most |
| Tighten | Trim pauses, false starts and slow clip starts | Pacing only makes sense once the order is settled |
| Sound | Even out voice levels and add music under the voice | Changing the cut later would undo this work |
| Captions and titles | Add captions and any on-screen text | Captions follow the words, so the words must be final |
| Export | Save the finished video in the right format | Last, once nothing else will change |
Justin Brown of the Primal Video YouTube channel lists "not having a video editing process" among the mistakes new editors make. His advice: get the content right first, then polish.
Oscar-winning film editor Walter Murch ranks what makes a good cut in his "Rule of Six". Emotion counts for 51%, more than everything else combined. His rule: "don't ever give up emotion before story."
How to edit a video, step by step: your first edit
The steps follow a made-up example. Say you filmed a family beach weekend on your phone. You have 40 clips (the drive, the beach, a few lines to the camera, dinner) and want about 4 minutes.
Step 1. Back up your footage and write one sentence
Move every clip into one folder on your computer, then copy that folder to an external drive or cloud storage. Editors don't change your original files, but it's easy to delete the wrong folder.
Then sum up the video in a single line: "The weekend our youngest saw the sea for the first time." That line is your filter for every clip. Decide on a length as well; for a first video, 3 to 5 minutes is plenty. Primal Video also lists "no plan before editing" as a beginner mistake.
Step 2. Assemble: put the keepers on the timeline in order
Start a new project and bring in the folder. Watch each clip once, and drag the keepers onto the timeline in story order. Skip anything blurry, shaky or repeated.
Don't trim anything yet. This first version, called an assembly, will be far too long, and that's fine.
Step 3. Cut: remove what doesn't serve the sentence
Ask of each clip: does this move the story forward? The fourth shot of the waves doesn't. The first wave reaching her feet does.
Delete whole clips first, then cut bad moments out of the ones you keep. When two shots show the same thing, keep the one with more feeling, as Murch's rule suggests. If the timeline is still twice your target length, cut again.
In Selects, select a clip and press Backspace (the delete key on a Mac). It's removed and leaves a gap. Add Shift, and the clips after it close up the space.
Step 4. Tighten: trim the starts, ends and pauses
Trim each clip so it starts on the action and ends before anyone looks around. Sometimes the clip starting mid-action makes the video even more engaging to watch. For example, if your kid is getting out of the car, cut out the part of opening the door and him getting up from a sitting position. Start the clip directly from the point where he is already halfway out of the car. In your lines to the camera, cut the false starts.
In Selects, hold Cmd (Mac) or Ctrl (Windows) while you drag a clip's edge inward. The clips after it slide over, so no gap is left.
Don't remove every pause, though. When I edit a vlog, I only trim pauses longer than 1.5 seconds, and I keep the laughs and quiet moments. Sit-down talking videos get a tighter trim: anything over 0.8 seconds, except the pause after a joke or before a key point.
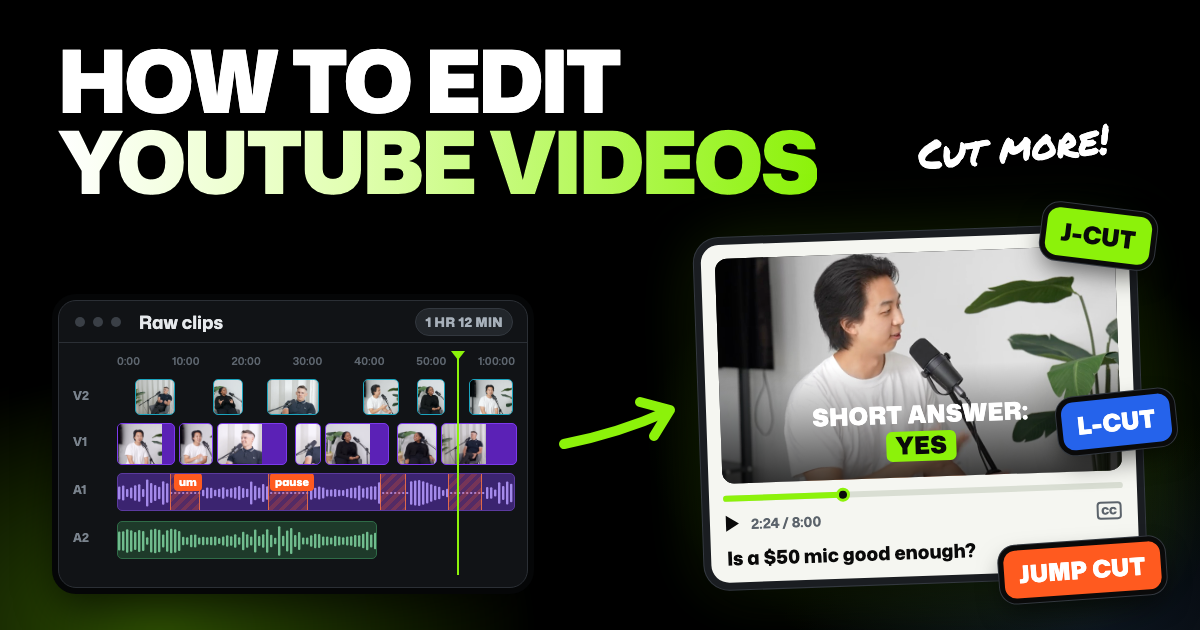
Talking to the camera a lot? Our guide on how to edit YouTube videos covers jump cuts, J-cuts, L-cuts and B-roll.
Step 5. Fix the sound: voice first, music under it
Play the video with headphones, then on laptop speakers. Turn quiet clips up and loud ones down until every voice sounds about equally loud.
Editing can't fully fix noisy sound, so next time, film close to the speaker in a quiet room. Then add music on a track below your clips, and turn it down until it never competes with a voice. Only use songs you're allowed to use, like the free music many editors include.
Primal Video names "using the wrong music" as a beginner mistake: songs that don't fit, or that play too loud.
Step 6. Add captions, then export
Many people watch on mute, so captions keep them with you. Some editors make them from the speech; others make you type them. Check names and places, which often come out wrong. For other text, a title and maybe a place name are enough.
Exporting means saving the finished video as one file. YouTube's recommended upload settings ask for MP4 with H.264 video. Keep the frame rate (frames per second) your camera or phone recorded. Watch the exported file once before you share it, since some mistakes only show up there.
Common beginner editing mistakes
| Mistake | What it looks like | The fix |
|---|---|---|
| Too long | Every clip you filmed is in, and viewers drift off halfway | Drop every clip that doesn't serve your one sentence, then go through again |
| No story | Clips play in the order you filmed them, with no point | Write the sentence first, and open on a moment that sets it up |
| Bad audio | Voices too quiet, too loud, or buried in wind and hum | Even out voice levels; next time, record close to the speaker in a quiet room |
| Jump cuts everywhere | Every pause is cut out of the shot, so the picture keeps jumping and nobody gets a breath | Keep natural pauses, and place other footage over some of the cuts |
| Music too loud | The song drowns out what people say | Turn music down under voices, and up only where nobody talks |
| Too many effects | A new transition or filter on every cut | Use plain cuts, and save effects for one or two moments |
| Switching software | A new app every week, and nothing finished | Pick one editor and finish three videos in it |
Primal Video warns about the last two as well, and adds that a free editor may be all you need for now.
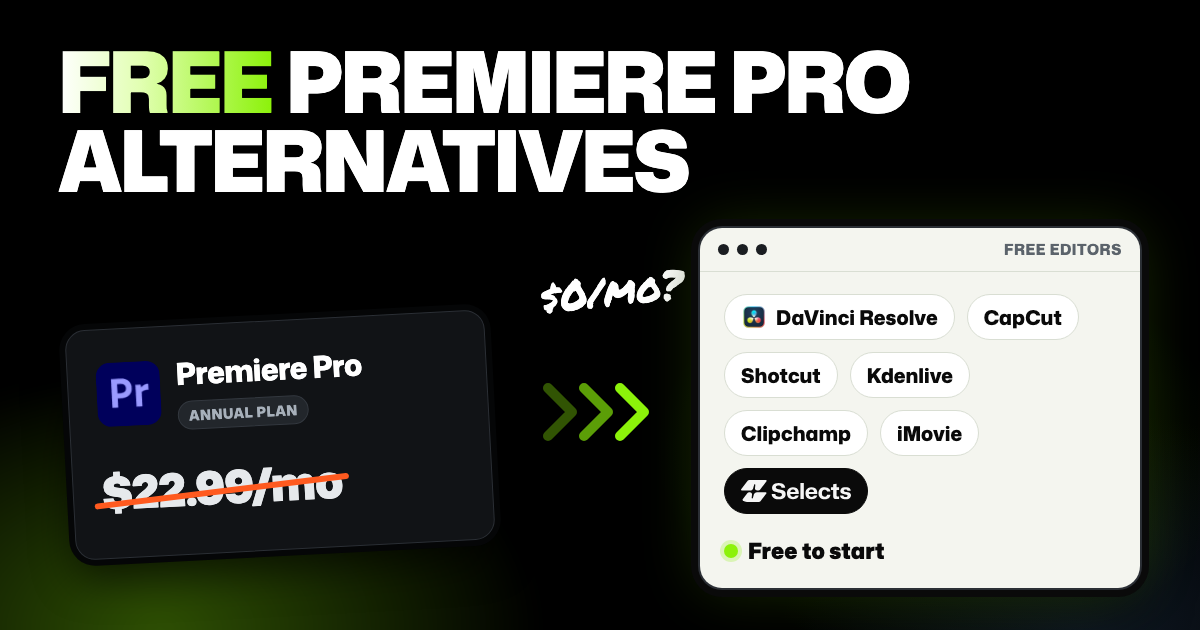
How to choose free video editing software
Pick an editor that runs on the device you already have. To trim one clip, your phone's photo app is enough; for a real first edit, you want a timeline.
We make Selects, one of the tools below.
| Editor | Good at | Bad at | Price | Best for |
|---|---|---|---|---|
| iMovie | Simple, with ready-made trailer templates (29 on Mac); edits up to 4K | Apple devices only: no Windows version | Free on Mac, iPhone and iPad | Apple users making a family or trip video |
| Clipchamp | Runs in the browser; free exports up to 1080p with no watermark | 4K export needs a paid Microsoft 365 plan | Free; Premium comes with Microsoft 365 Personal, $9.99/month | Windows users making short, simple videos |
| CapCut | Quick social videos from templates, on your phone or computer | Advanced AI tools are Pro only. Auto captions are Pro only in CapCut's plan comparison, but free on CapCut Web | Free; Pro $19.99/month or $179.99/year | Short videos for TikTok, Reels and Shorts |
| DaVinci Resolve | Free professional editor with color and audio tools, on Mac, Windows and Linux | AI tools and voice isolation need the paid Studio version | Free; Studio $295 one-time (on sale for $236 when we checked) | Beginners who plan to keep editing seriously |
| Selects | Free multi-track editor and export; describe the edit in chat once Selects has analyzed your footage | Runs on a computer, not on phones yet; AI steps need analysis, which uses credits | Free plan $0; AI steps use credits (trial credits, then Starter $20/month) | Videos you film yourself: YouTube videos, vlogs, tutorials, interviews, video podcasts, short clips and event videos |
On a phone, start with iMovie or CapCut. If editing might become a hobby, DaVinci Resolve is worth the extra learning. If you'd rather describe the edit than drag every clip, read on.
Your first edit in Selects
Selects is an AI video editor that runs as a desktop app for Windows 11 and Apple Silicon Macs, and in the browser. The editor and export are free, so you can do every step above by hand. Or describe the video, and Selects builds the first cut for you.
Step 1. Drop your clips in and let Selects analyze them
Drag your clips onto the Home screen (with nothing typed in the chat box), and Selects starts a project and offers to analyze them. Analysis means Selects watches and listens to your footage, so it knows every word, who said it and what's on screen.
Each hour of footage costs 360 credits to analyze. A new account starts with 1,800 trial credits (about 5 hours of footage); for more, pick a paid plan. For analysis, Selects sends only the sound and the still frames it needs. The video files themselves never leave your computer.
Step 2. Describe the video you want
Type a brief in the chat box, the way you'd brief a friend who edits:
Make a 4-minute video of our beach weekend: the trip where our youngest saw the sea for the first time. Open with the first wave reaching her feet. Keep the drive to a few seconds. Use my lines to camera, and drop blurry or repeated shots.
Selects puts the first cut on the timeline. Watch it through, then reply with notes: "Swap the sunset shot for the one with her laughing." Chat replies use credits too. If you pay for ChatGPT, or for Claude Pro or Max, you can connect that plan in the desktop app instead.
Step 3. Tighten, set the volume and add captions
To trim pauses, give chat your own rule, like the 1.5-second vlog rule above. Or use Remove silence in the Apps tab, which tightens pauses across the whole timeline. Cut filler words removes ums and uhs on English footage.
For sound, select a clip and open the Adjust tab to set its volume. That's also how you turn music down under voices.
Captions live in the Apps tab too: open Captions, pick a style, then read them through once.
Step 4. Export your video
Click Export at the top right and choose Video. The same menu can post straight to YouTube, TikTok or Instagram (a professional account). For every click, see the Selects quick start.
FAQs
Is DaVinci Resolve good for beginners?
Yes, if you plan to keep editing. It's free, and Blackmagic Design says it's easy for new users yet powerful for professionals. It has more to learn than iMovie or Clipchamp, so give your first video extra time.
Can I edit videos on my iPhone or iPad?
Yes. iMovie and CapCut both run on iPhone and handle cuts, trims, music and titles. A computer gives you a bigger timeline, which helps once videos run longer than a few minutes.